Create a project and upload files
You will make a project, which is the folder for one video, and add your material to it.
Create the project
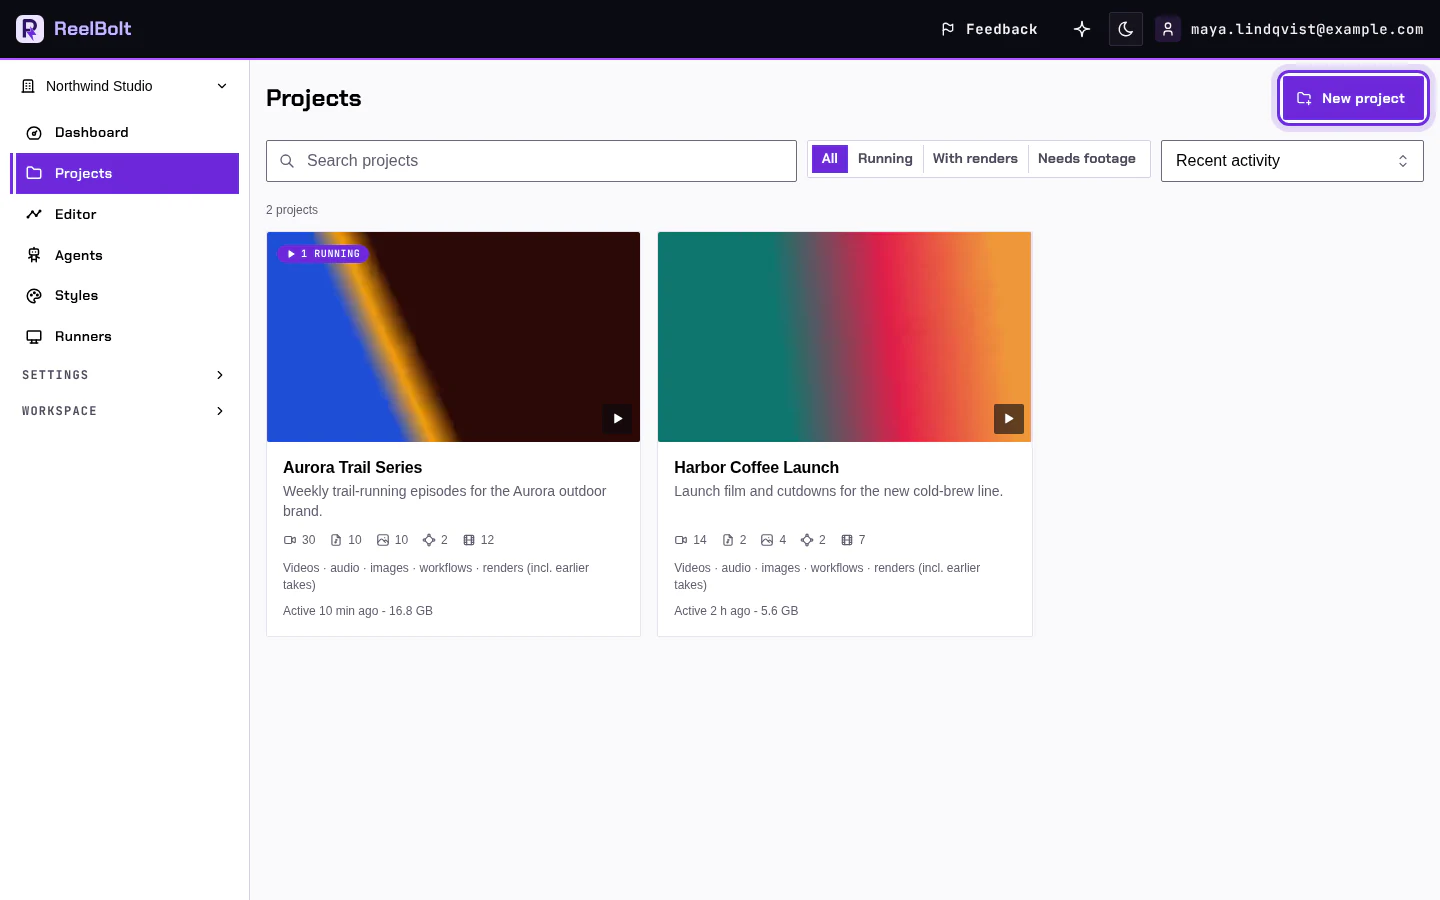
- Open Projects in the left menu.
- Click New project.
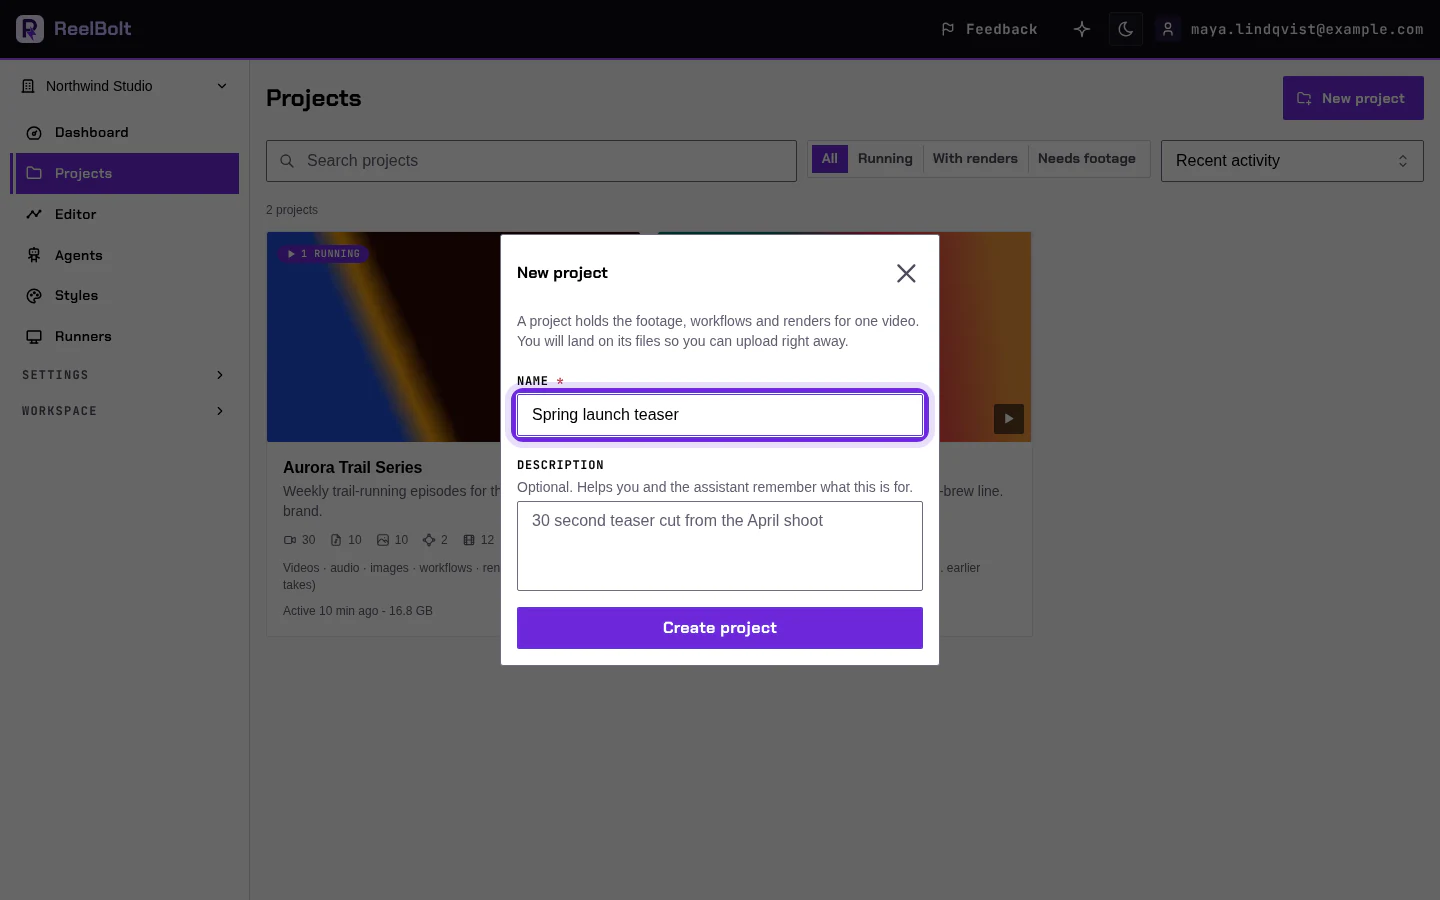
- Type a Name, for example "Spring launch teaser". A Description is optional.
- Click Create project.
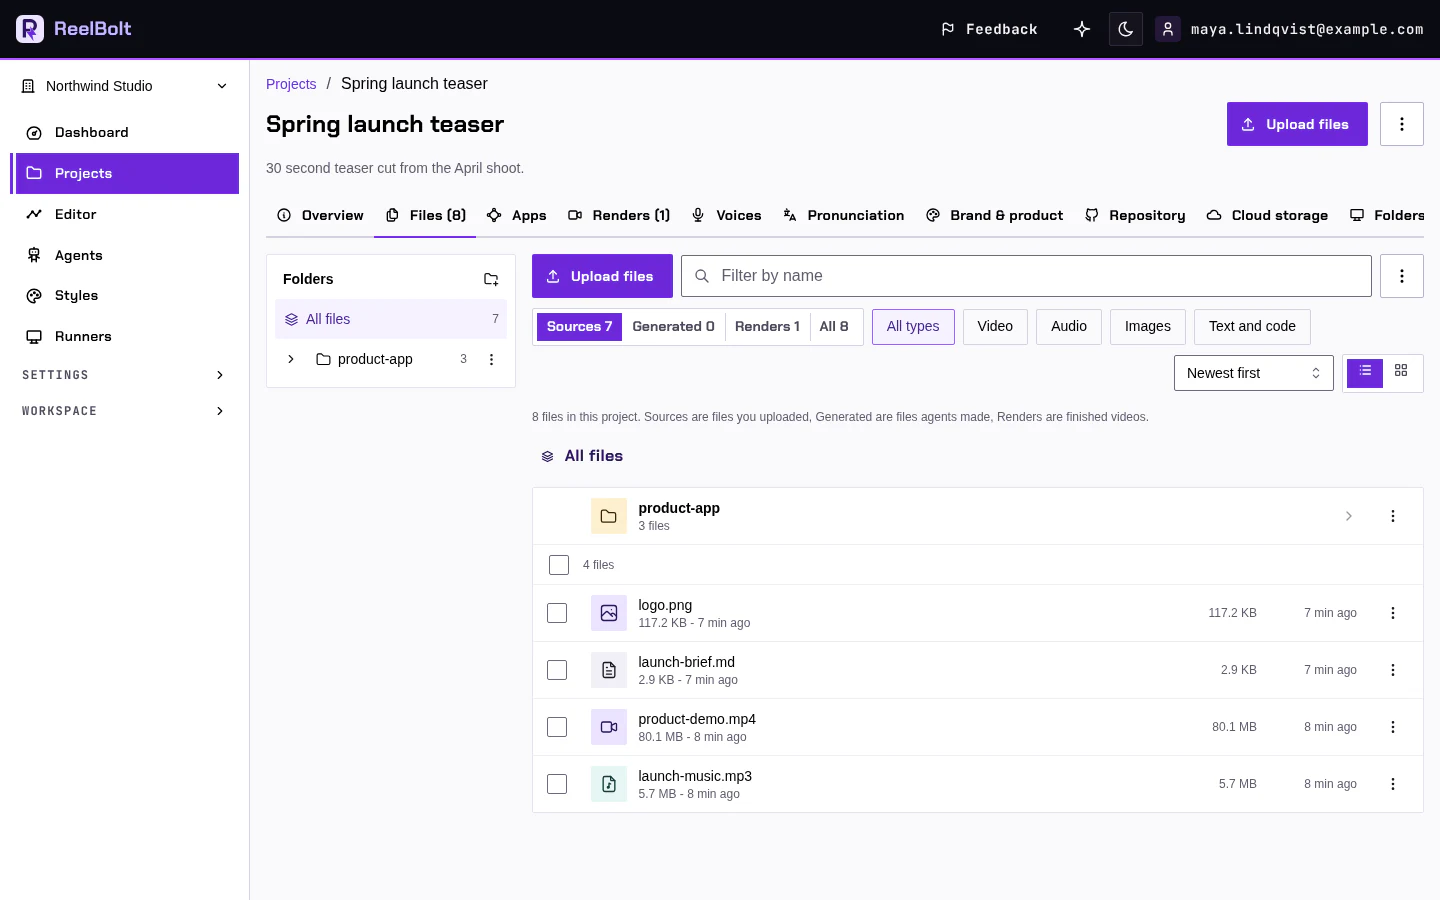
The new project opens on its Files tab.
Upload your files
- Click Upload files at the top of the project page (or use Upload on the Files tab).
- Choose files, or choose a folder. A folder keeps its structure.
- Wait for the uploads to finish.
You can also drag files or folders anywhere onto the project page.
Check your upload. Uploaded files are listed under Sources. Click a file to preview it.
Which files to upload depends on the video. For a promo of your product, upload its source code. For an edit, upload your footage and any music.
If something looks different
- A file name is refused? A name cannot be empty, contain
/or\, or match another file in the same folder. ReelBolt tells you which. - Not sure what to upload? Open the assistant and use What should I upload? on an empty Files tab.
Go deeper
Next: Pick an app and run it.